Google Rating
- 5.0
-


Read our reviews
 July 5, 2021
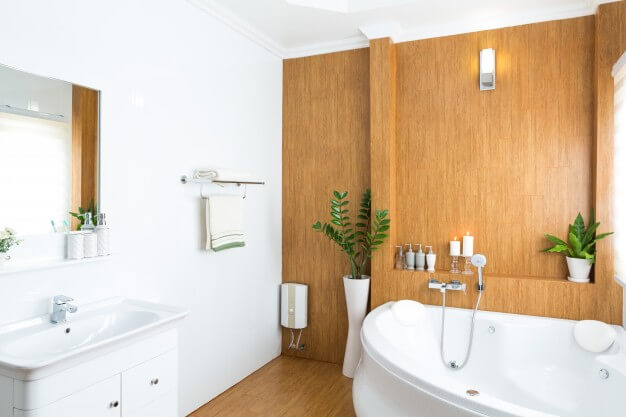
Toilets outlive other bathroom fixtures due to their robust construction and simple design, but they do not endure indefinitely. Heavy lime deposits can build up after a decade or two, causing blockage or delayed flushing, and the seals between the toilet tank and the bowl can harden, fracture, and leak.
Even if a toilet is still functional, homeowners frequently change to a model that complements a bathroom renovation or incorporates the latest technology. And then, when that moment comes…
Let’s be honest about it. It’s an unpleasant chore to replace a toilet, not because it’s technically challenging—it isn’t—but because toilets are heavy and cumbersome, and no one likes to get close and personal with them.
With the following best (and worst) practices in mind, you can reduce the mess and trouble while getting your new toilet installed in no time.
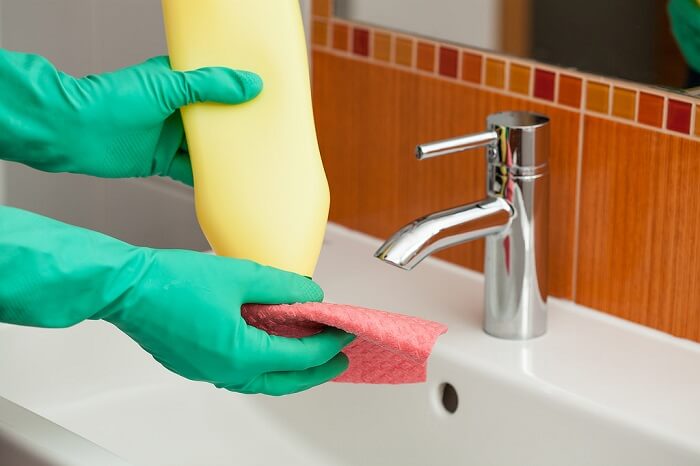
After turning off the tank’s water supply valve, flush the toilet while holding the handle down to empty as much water as possible. Some water will remain in the bowl’s bottom; use a cup to scoop it out or a big sponge to soak it up. When you remove the toilet, any remaining water will most likely land on the floor.
Despite your best efforts, water will accumulate in the toilet’s internal P-trap (located underneath the bowl). When you move the toilet, even a slight tilt or wobble can cause the water to leak into the floor. Plumbers will frequently set a huge utility pan on a flat dolly to cope with this.
Despite your best efforts, water will accumulate in the toilet’s internal P-trap (located underneath the bowl). When you move the toilet, even a slight tilt or wobble can cause the water to leak into the floor. Plumbers will frequently set a huge utility pan on a flat dolly to cope with this.
It’s time to raise the old toilet once you’ve cut the water supply line from the bottom of the tank and removed the ornamental caps, nuts, and washers from the T-bolts that attach the toilet to the floor. Protect yourself at all times before trying to lift the toilet pan.
The tank lid is not secured to the top of the tank; thus, if you tilt the commode to either side while transporting it, the heavy porcelain cover will undoubtedly come off. Porcelain tank lids are not only readily broken, but they may also chip and damage floors.
Professional plumbers are aware of this; however, home DIYers frequently make the mistake of leaving the tank lid on, resulting in a cracked cover and damaged flooring. When changing a toilet, place the top aside and carry it out separately to avoid catastrophes.
Place the nuts and washers over the bolts after the toilet base is in place, but not too tightly. In many situations, just tightening your fingers is all that is required. Many DIYers have discovered the hard way that overtightening the nuts can result in a chipped or damaged toilet.
The bolts that connect the new tank to the bowl are the same way (unless you purchased a one-piece model). Complete the installation and fill the tank with water by gently squeezing them together. If there is still any leaking between the tank and the bowl, tighten the bolts a little further. Usually, that’s all that’s required to halt any leaks.